This post may contain affiliate links. If you click the link and make a purchase, I may receive a small commission at no additional cost to you. Please see our disclosure policy for details.
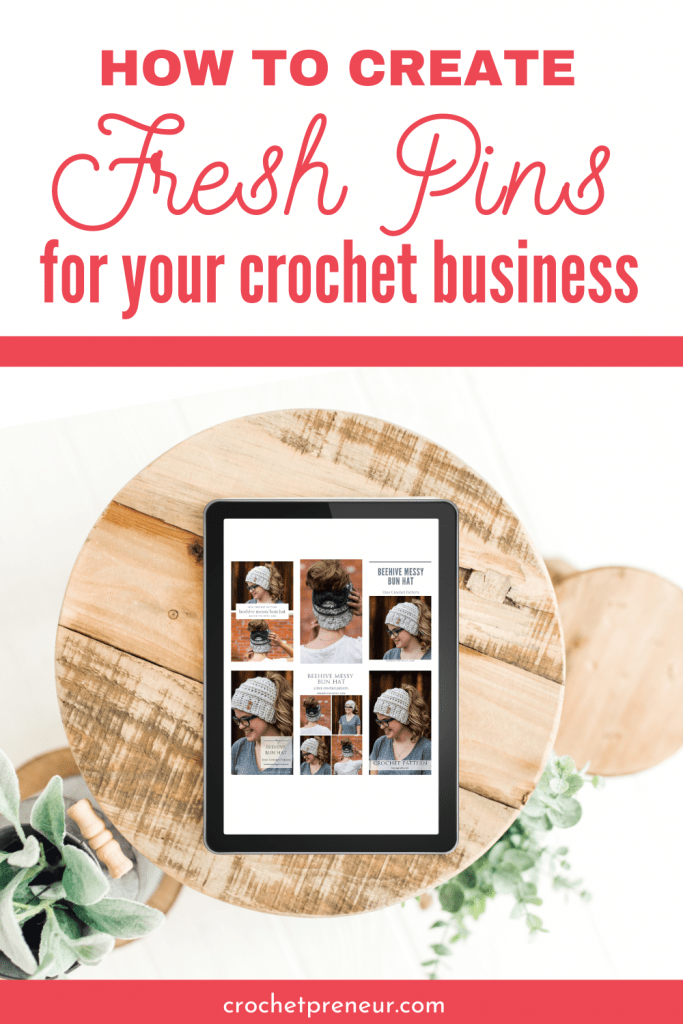
Pinterest themselves and Pinterest marketing gurus have said, over and over, that online business owners need to create fresh pins. But what are fresh pins and how can you create more of them for your crochet business content? That’s the topic we’re going to tackle in this post. Read on!
Most crochet business owners know Pinterest is one of the most effective tools for marketing an online business.
And with frequent algorithm changes and ever-changing best practices, it can be difficult to develop an effective strategy for pinning.
My advice? Listen to what Pinterest says and make use of their newly released features.
We’ll put the thought of features aside for now and focus on what Pinterest says they’re looking for with regard to pin creation and distribution.
Pinterest has said over and over that they want FRESH PINS.
What are Fresh Pins?
Ok, that’s kind of a big question. Let’s, first just quickly go over what a ‘pin’ is.
The Anatomy of a Pinterest Pin
A Pinterest pin is the totality of elements that come together to create a graphic image that is shared to Pinterest as a means of marketing a piece of content or a product.
Pinterest images include several elements including the
- Title
- Description
- Destination URL
- Image
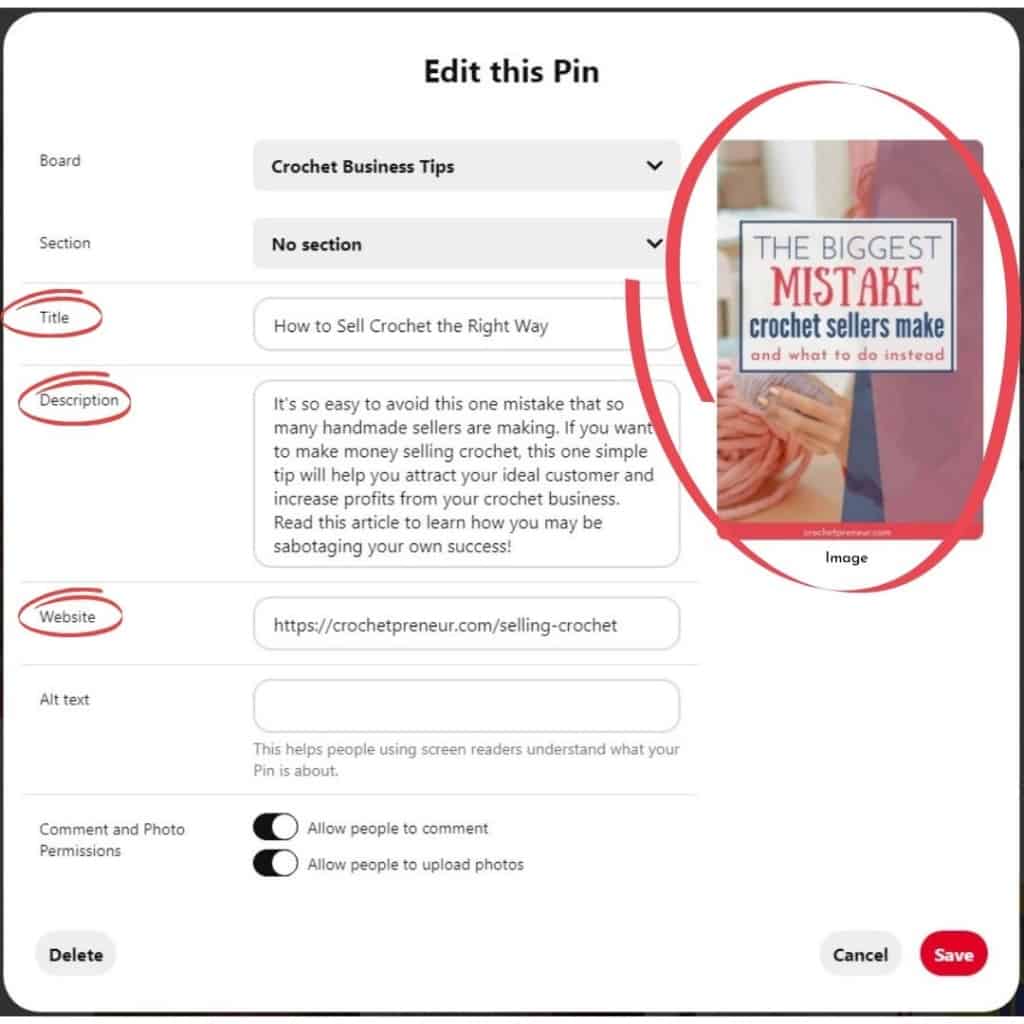
The Pinterest image, itself, also contains several different elements:
- Background image
- Overlay
- Text
- Fonts
- Logo or website name
The Definition of a Fresh Pin
So, now that we understand what elements make up a pin, we will better understand that the definition of a fresh pin is:
Fresh Pins are images (or videos) that Pinterest hasn’t seen before.
Sounds simple, right?! Fresh, meaning new, pins are simply images that are brand new to Pinterest and will be viewed by Pinterest users as something they’ve never seen before.
So, in order to create a fresh pin we simply create several images that link back to the same URL, whether that is a blog post, page, product, or other URL. The FIRST time that image is pinned to Pinterest, it is considered a fresh pin.
Myths About Fresh Pins
There has been a lot of confusion surround the question of what does and does not constitute a fresh pin. Remember, a fresh pin has to do with the IMAGE itself.
MYTH: Changing the title, description, and/or alt text on an existing image is a fresh pin.
FALSE.
It’s not. It’s OK to change the title and description but doing so does not create a fresh pin. It would be more beneficial to use that new copy to A/B test duplicate pins to see which performs best or to, simply, create a new image to use with the new copy/keywords.
MYTH: Making tiny changes like slightly cropping an image, shifting the position of your logo, or moving the image a few pixels over will be seen as a fresh pin.
FALSE.
If using the same background image, you’ll need to make significant changes like a new overlay, new text, or significant crop in order to help Pinterest see the image as something new. Remember, we’re not trying to fool Pinterest, we’re actually trying to create something exciting and new for Pinterest users.
MYTH: Using a duplicate image with a new URL creates a fresh pin.
UNDETERMINED.
While some experts are saying that the image/URL combination is important and using an old image with a new URL will create a fresh pin, I’m still unsure.
I’ve reached out some friends who are experts with direct access to Pinterest for verification and will come back and edit here when I have a solid answer for you.
Create More Pins in Less Time
Now that you know what fresh pins are (again, they are images that are new to Pinterest), you may be wondering how in the world are you going to create all these new images while taking care of all the other things you need to do to keep your business running.
Well, here are a couple of options for creating fresh pins for both old and new content that won’t take you hours to complete.
Use Templates
Many graphic designers, like my friend, Kara, at Simplifying DIY Design, make this process simple by offering template packs specifically designed for use by bloggers.
Here’s an affiliate link to Kara’s free class for Canva beginners: Canva 2.0 Quick Start
And here’s a link to her Mega Pin Creator’s Bundle with 60 templates for both Canva and PicMonkey.
This is what I’ve used, for years, to create multiple pins for each piece of content that I share.
Basically, Pinterest templates are editable file that can be easily edited. Simply drag and drop your image, tweak the text, adjust the colors, and download your images.
With templates, it’s easy to create multiple versions of a pin in 30 minutes or less.
Here are some examples of pins I made using Canva templates.
These templates are a good option for users who aren’t ready to spend money on a graphics design program.
You can, either, create some templates on your own or make an initial, small investment in some templates to use over and over.
Tailwind Create
Create is a new feature available to users of (affiliate link) Tailwind Plus. With this resource, you simply upload your background images, insert your title, description, and destination URL, select a color palette, and Create does the magic for you – creating inumerable unique images to choose from.
Learning how to use Create is simple. Check out this easy tutorial from the creators:
If you’re brand new to Tailwind, I know this can look complicated, but I assure you that it becomes old hat after practicing a time or two.
Here are some pins I created using Tailwind Create:
The Tailwind Create option is great for users who already use or who are ready to invest in Tailwind as a time-saving option for Pinterest pin creation and scheduling.
The one downside for product sellers is that Create doesn’t have a way of knowing that you’re making pins for a product. So, you’ll find you’ll have to do some editing in order to move the text off of product images or to create image blocks that are big enough to show your entire product.
I really do encourage you to give it a shot and make up your mind for yourself. I found it great, particularly, for creating fresh pins for informational blog posts.
Conclusion
As you can see, using a tool to design pins makes fresh pin creation a breeze. I hope you don’t feel intimidated by the process because it really isn’t that complicated.
Here’s what I suggest whenever you have a new piece of content:
- Create 5-10 unique pins either manually, with templates, or with Tailwind Create.
- Use Tailwind to schedule these pins to post at least 3 days after one another. (ie Pin 1 gets pinned for the first time today, Pin 2 gets pinned for the first time three days after Pin 1, Pin 3 gets pinned three days after Pin 2, etc.)
- Select 5-10 relevant boards to pin to at an interval of 7 days.
Use this same strategy when creating a fresh pin for old content.
In this case, for older content, I simply create one new fresh pin every six months, use the same pinning strategy of sending it to 5-10 relevant boards at an interval of 7 days.
This is a good way of sharing seasonal content.
I hope you found this article helpful as you grow your Pinterest strategy and use Pinterest as a marketing tool for your crochet business.
I’d, also, love to hear your ideas. Won’t you share them in the comments, below?


